The Ultimate Guide to Applying Mascara Like a Pro
Mascara is that one makeup essential that instantly lifts your entire look. Whether you're going for bold and dramatic or soft and fluttery, your lashes play a major role in framing your eyes and completing your makeup. But here’s the truth: getting that flawless, clump-free, fanned-out lash look isn’t just about the formula—it’s about how you apply it.
Ready to level up your lash game? Here’s your ultimate step-by-step guide to applying mascara like a pro.
Step 1: Start with Clean, Curled Lashes
Before reaching for your mascara, make sure your lashes are clean and dry—free from oils or leftover makeup. Then, curl your lashes using a quality eyelash curler. Start at the base and gently press for a few seconds, then repeat midway up the lashes for a natural curve. This step helps open up the eyes and gives your lashes a lifted foundation to build on.
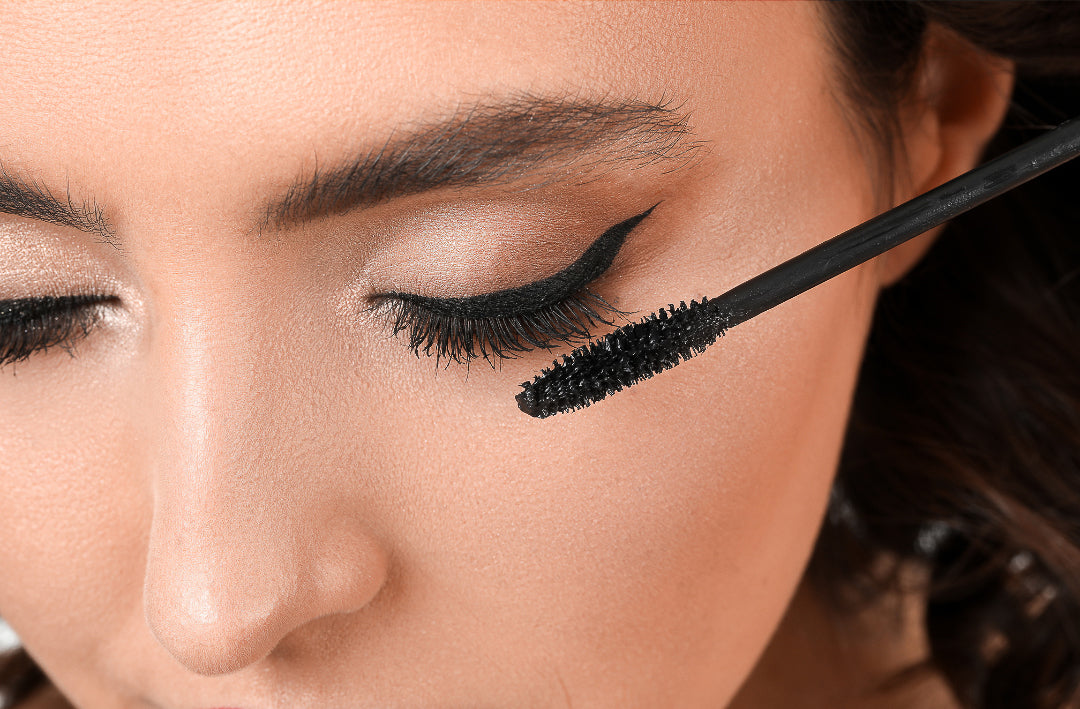
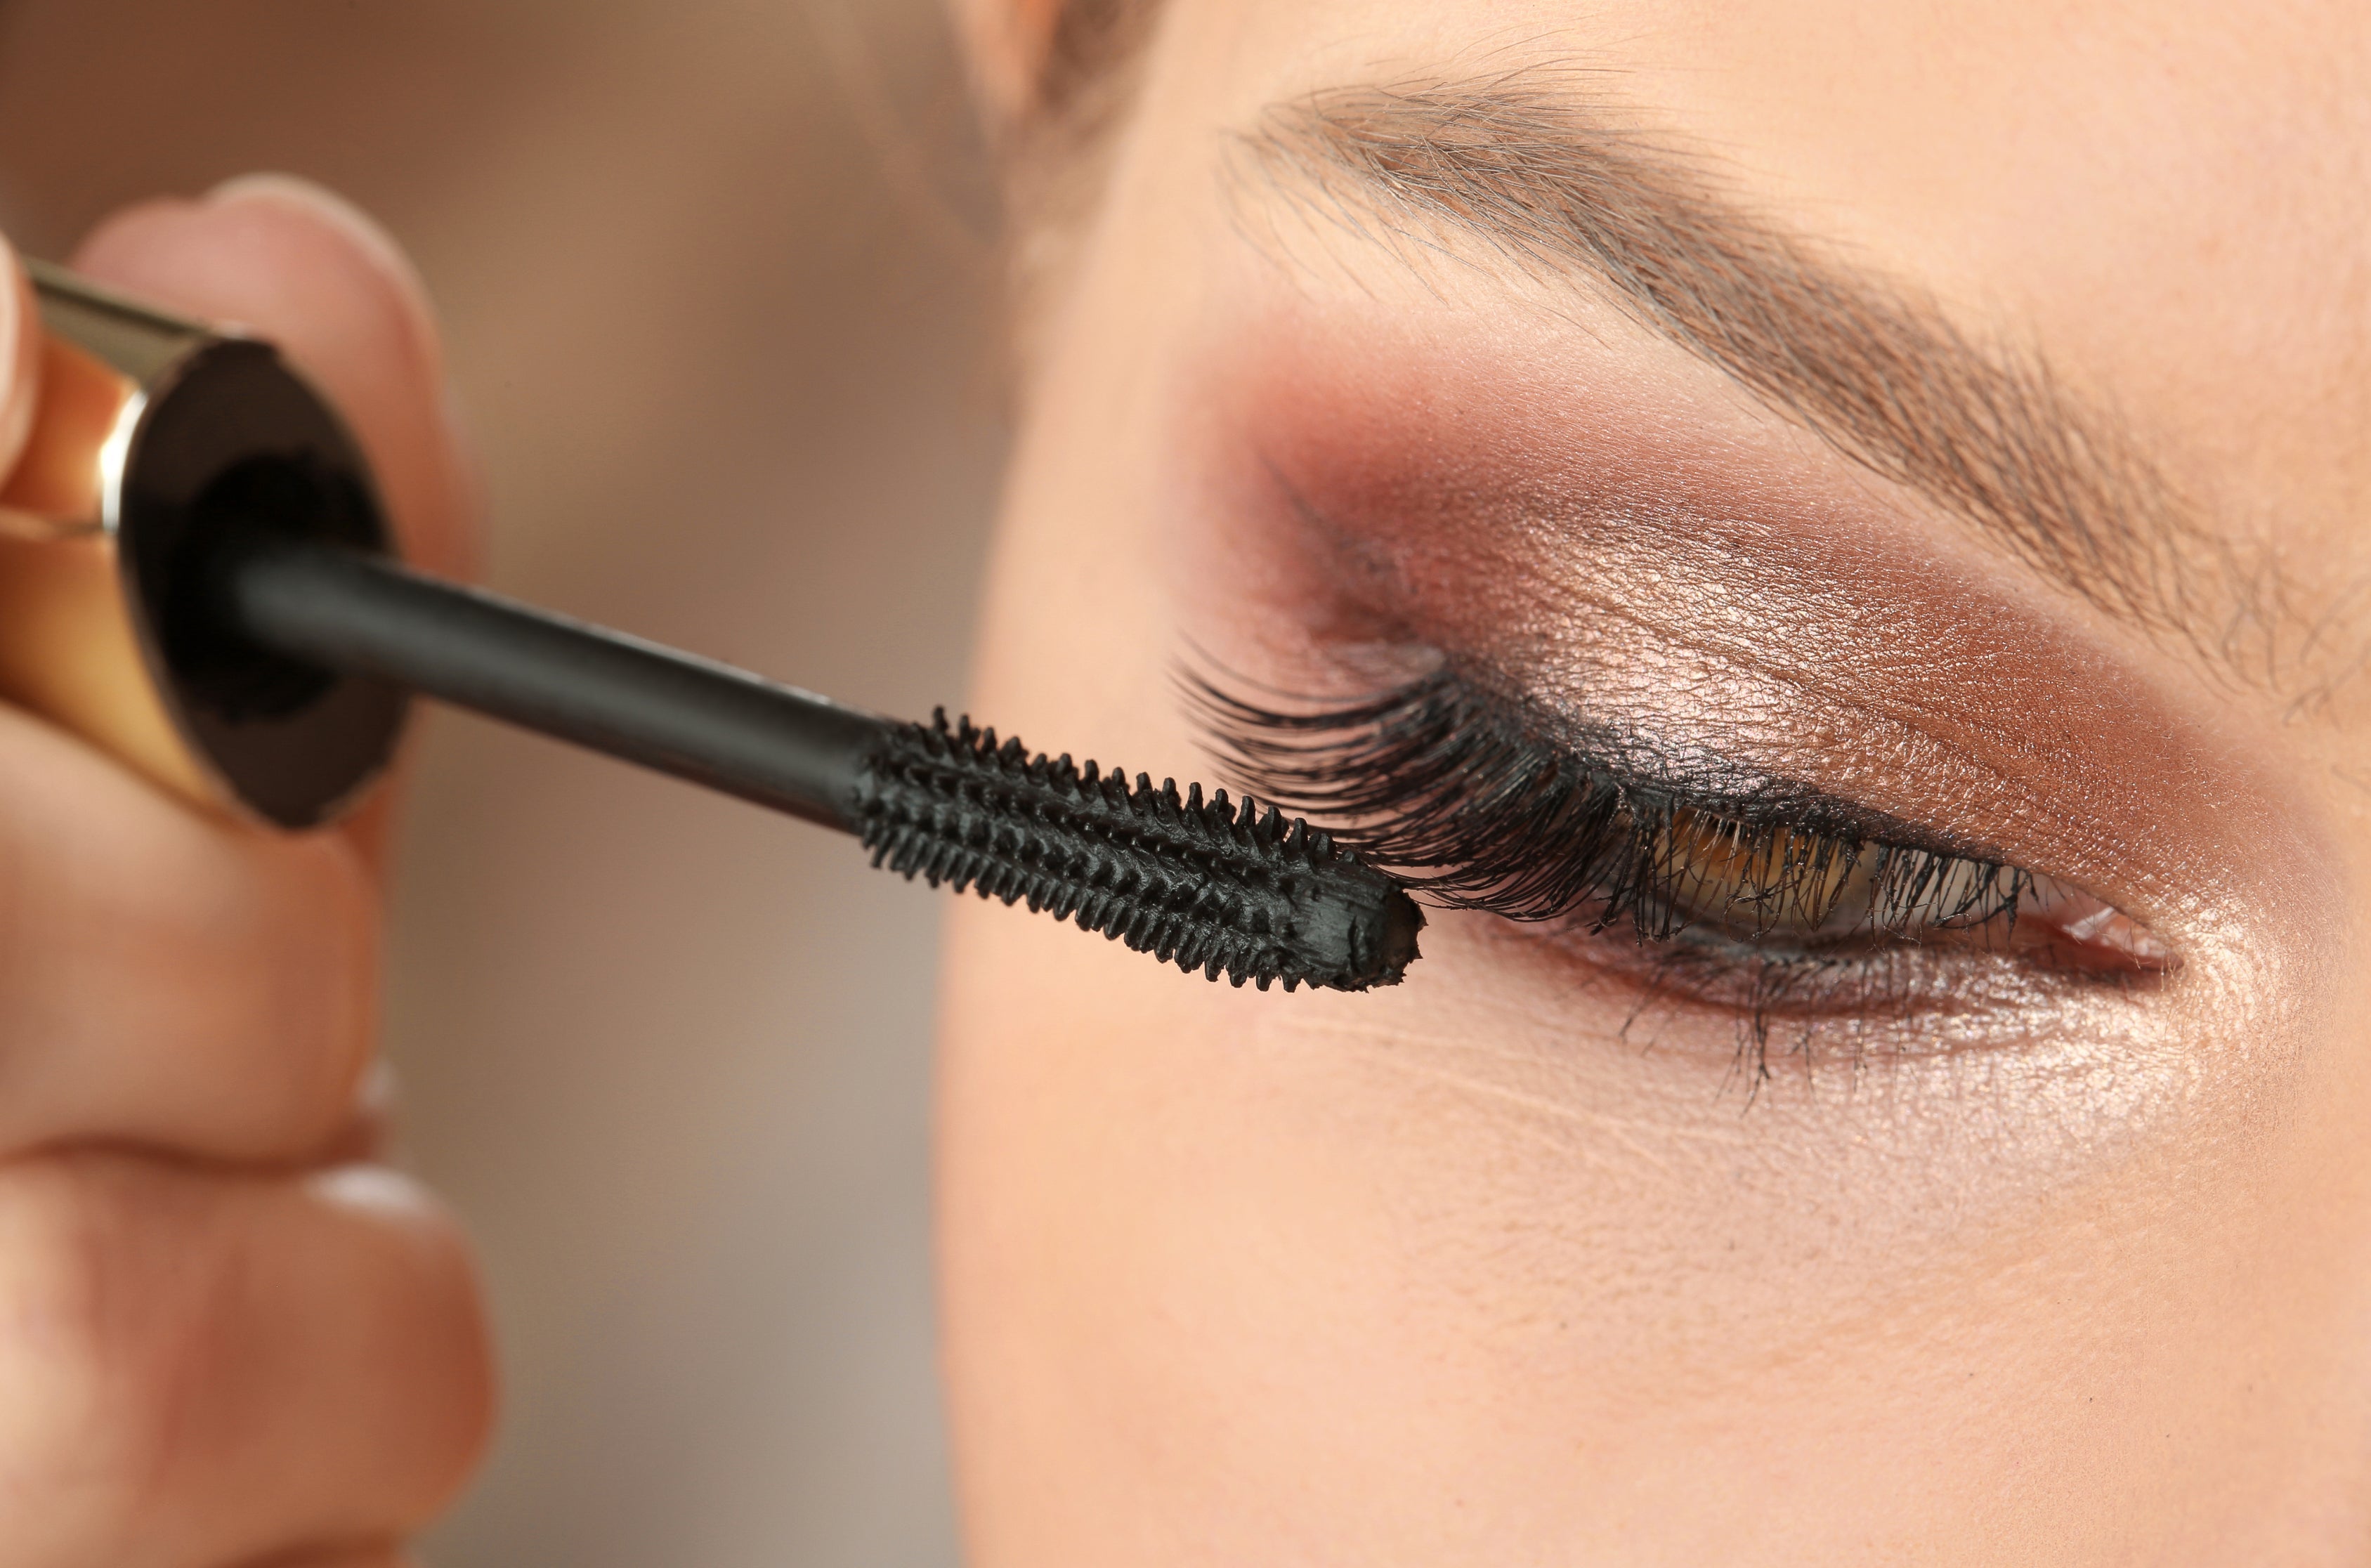
Step 2: Wiggle from the Root
When applying mascara, start at the base of your lashes and wiggle the wand side to side as you move upward. This technique deposits more product at the roots, giving the appearance of fuller, thicker lashes while also helping to separate them as you go. Don't just swipe straight up—that's how you miss the magic.
Step 3: Layer with Purpose
One coat is great for a natural look, but if you want more drama, go for two to three coats—just don’t overdo it. Apply each layer while the previous one is still slightly wet to avoid flaking or clumping. And remember: the goal is buildable volume, not chunky lashes.
Step 4: Don’t Forget the Lower Lashes
Use the tip of your wand or a smaller precision brush to gently coat your lower lashes. Lightly tap the wand vertically and use minimal product—this helps define your eyes without smudging. Pro tip: Use a waterproof or smudge-proof formula if you’re prone to under-eye transfer.
Step 5: Comb Through (If Needed)
If you notice clumping or lashes sticking together, use a clean spoolie or lash comb to separate them. This step keeps your look polished and ensures every lash is visible and defined.
Step 6: Clean Up Like a Pro
Even the steadiest hands can get a little mascara on the lid or under the eye. Don’t panic! Wait for the smudge to dry, then use a cotton swab to gently flake it away without disturbing your makeup.
Bonus Tips:
- Replace your mascara every 3 months to avoid bacteria buildup and dried-out formula.
- For extra volume, dust your lashes with a little translucent powder between coats.
- Use a lash serum or natural growth mascara (like ours!) to nourish your lashes and boost their natural length and fullness over time.
Final Thoughts
Mascara is the secret weapon in every beauty bag—but applying it the right way can take your lashes from basic to breathtaking. With the right technique and a little practice, you can get that lifted, lengthened, and defined look every time. So grab your favourite mascara wand, follow these steps, and let your lashes do the talking.
Leave a comment
This site is protected by hCaptcha and the hCaptcha Privacy Policy and Terms of Service apply.